Mondays Memory Photography Linky Party 6/29 - Picsay Pro Tutorial
- Photography
- 28 June 2015
If you travelling and take a photo from your Android gadget, you'll want to immediately upload your photo showing that you have wonderful adventure to your family and friends. But sometime, your photo didn't look good, the angle perfect but the light so lack! You want to take photo again, but too late, your photo object has passed. Wait wait! Don't delete your photo from your memory card. Here I give you tutorial about editing photo from your Android gadget using Picsay Pro.
Picsay Pro doen't need you to download editing tools when editing photo, that way you can edit your photo without internet connection. You can download Picsay Pro here (it is not free). Picsay Pro also have free version, called Picsay, but Picsay doen't have powerful tools like Picsay Pro to edit your photo.
Ok, here is the tutorial, please note that I fully editing the photos in this tutorial using Picsay Pro.
This photo below is "before" photo

The "after" photo is below the tutorial
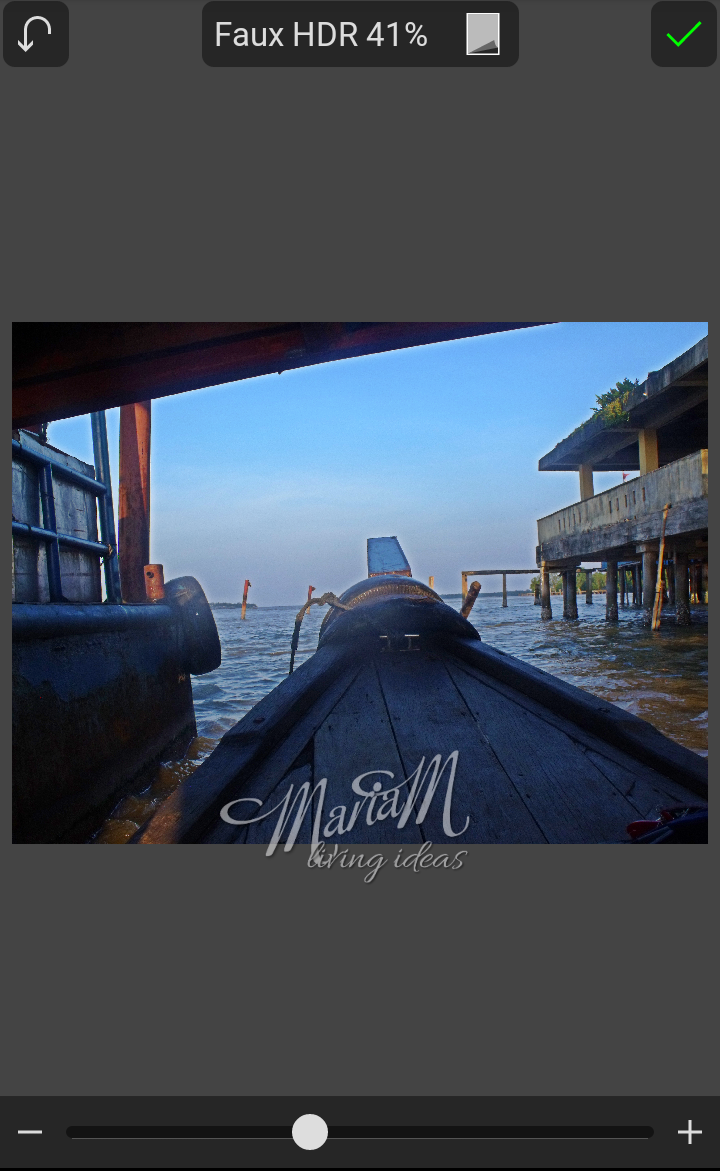
Step 1: Click on "Effect" button below your screen, then find "Faux HDR", set your faux HDR as you need. I set 41% for my photo. To set use button below your screen, slide the white button to your desired position, whether plus or minus. Then click on green check on right top of your screen.
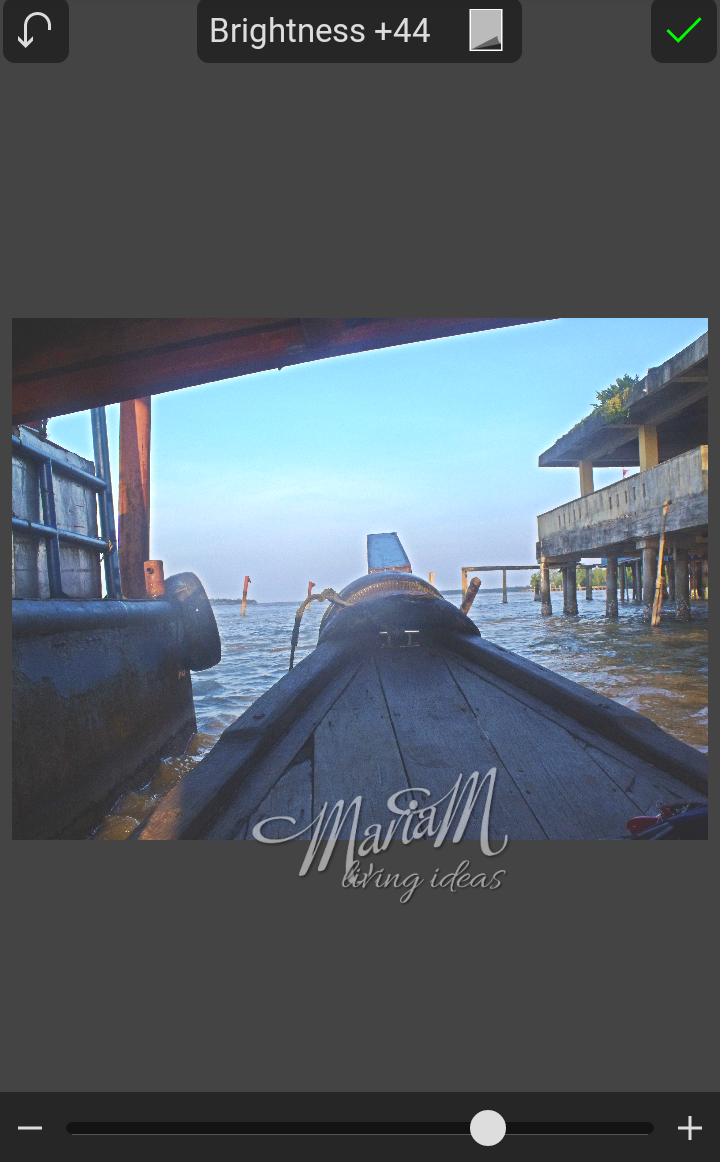
Step 2: Click on "Adjust" button, and choose "Brightness" to add some brightness. I use +44. Don't forget to click green check to save your editing.
Step 3: Add some contrast by clicking on "Adjust" button and choose Contrast. I give contrast +19 to my photo.

Step 4: Then sharpen your photo to correct a little blur. You can find this option in "Adjust" button. As you see, I use 200% sharpen.

Step 5: Hhhmmm... I think I want a little "vintage look" for my photo. 47% Cross Process is the first touch. Find the Cross Process option in the "Effect" button.

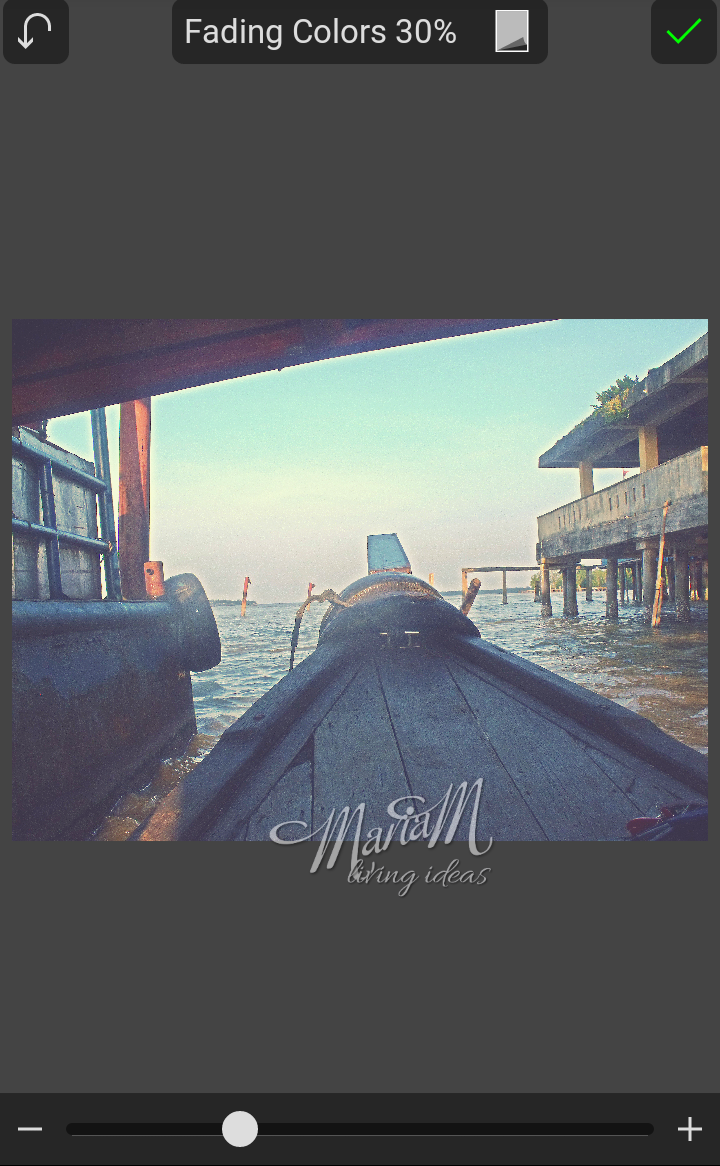
Step 6: Ok, I need to fade the colors. "Fading Colors" can be found in "Effect" button. I fade 30%.
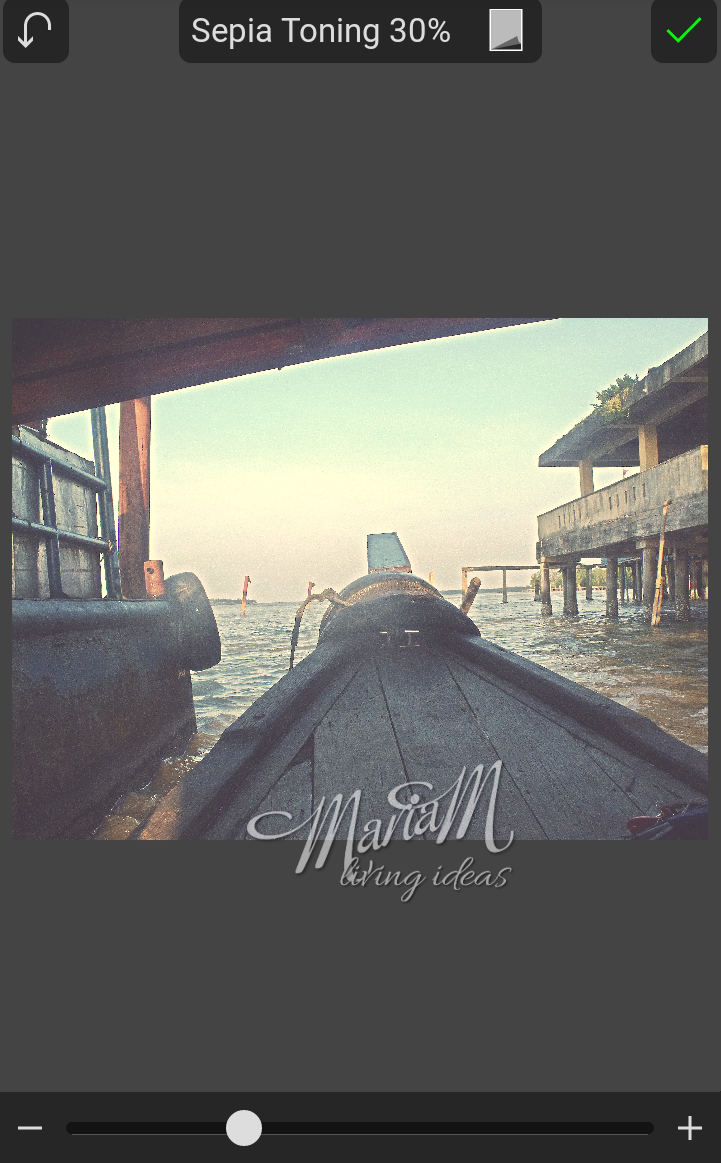
Step 7: What more can be vintage look than sepia color? You can find the option in "Effect" button. Add Sepia toning as you wish.
Step 8: Add some vignette, it is the black shadow surround the photo's edges. You can find the vignette option in "Effect" button.

Now I have a good looking-vintage look photo to send to my family and friends.

The key process for editing photo that lack of light are Faux HDR, Brightness, and Contrast.
Do you have blogpost about photography? Add your link here:

Monday! We work again after weekend. I’m sure you have some photographs to show off. I would love to have your photography blogpost link here. You can link up to three posts. You don’t have to be a professional photographer to be linking here.
Follow one or more of my social media listed below:
Facebook Fanpage
Twitter
Instagram
Pinterest
Google+
Bloglovin’
Please make sure you link up only photography posts, not other graphic art. And no nudity, pornography, cruelty, brutality, violence or else like that.
Try to visit a couple of blogs and leave a comment or share their posts.
Place this button or a link to this post somewhere on your site, either on the actual post or on your sidebar or on your party page.

Copy and paste this code to your site: <div align="center"><a href="http://www.marcellinamaria.my.id/index.php/11-photography/30-mondays-memory-photography-linky-party-6-15" title="Mondays Memory Photography Linky Party"><img src="http://www.marcellinamaria.my.id/images/logomondaysmemorysmall.jpg" alt="Mondays Memory Photography Linky Party" /></a></div>
I will pin your photography posts to the Mondays Memory Linking Party Pinterest board. Please follow the board to see all the great photography!
Make new friends by sharing, pinning, and commenting! Thanks for participating in this link-up and for following your host!